Project-Based Classes
Full day / 6 Hrs
The focus of all of Carla's project-based classes is to help students understand the construction methods used in the quilt block or blocks. Since most projects are quilt-sized, the class goal is to complete one or two blocks rather than the entire quilt.
An alternative project option, such as a table runner or topper, is always available for those who prefer to focus on mastering the block without committing to a full quilt. Fabric requirements for the smaller project option will be provided in advance.
Note:
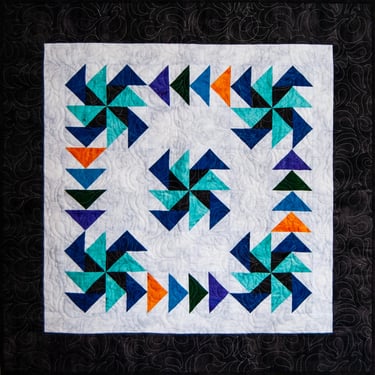
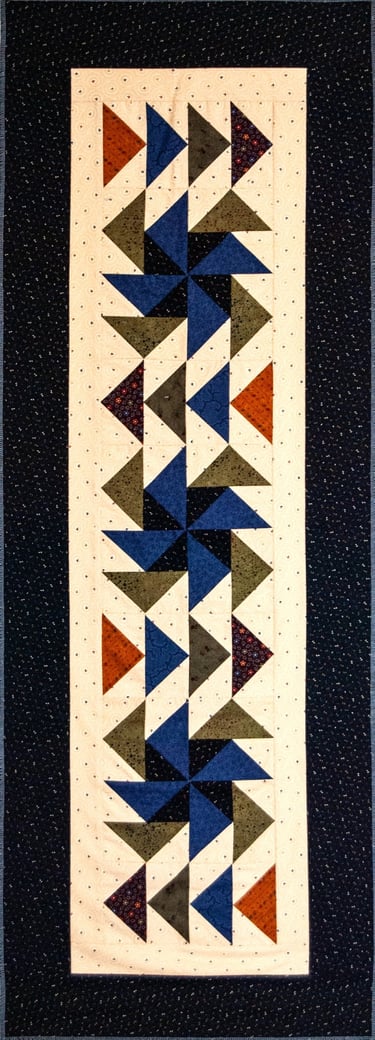
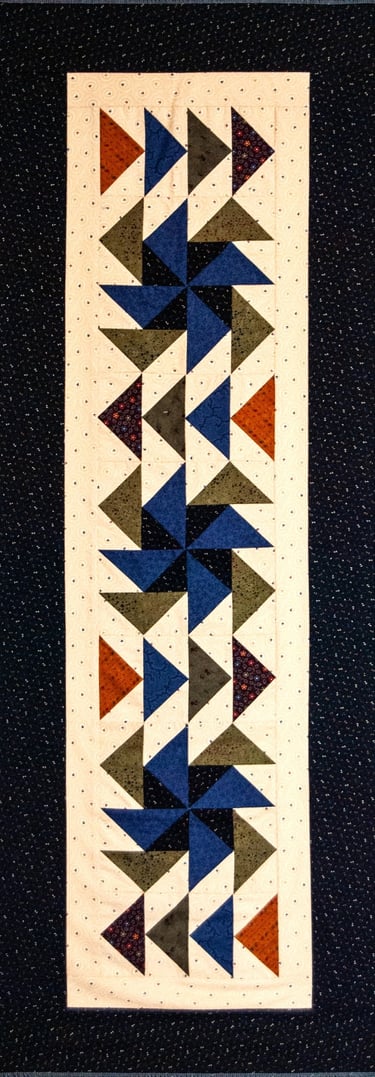
Flying Geese Fun
Original Pattern by Carla Alexiuk
Topper: 32" x 32"
Runner: 17" x 49" (more options given in class)
In this workshop, participants will be using the Wing Clipper™ tool by Studio 180 Design. The project will guide participants through the fundamental construction of Flying Geese using the 4-in-1 method, and demonstrate how to accurately square them up with the Wing Clipper™ tool. Additionally, the workshop will cover the creation of non-mirror image Flying Geese, using the tool for precise squaring. Participants will then use both types of Flying Geese units to assemble a Dutchman's Puzzle block. The workshop will include a discussion on various layouts for the runner, allowing students to explore different design possibilities. Throughout the session, students will complete several Dutchman's Puzzle blocks and benefit from practical tips on successful piecing techniques, including pressing and pinning strategies.
Skill Level: Confident Beginner and Beyond
Required:
Wing Clipper™ tool by Studio 180 Design
This pattern is included with the workshop.

River Rocks
Original Pattern by Carla Alexiuk
Pattern featured in the September/October 2016 issue of Quiltmaker Magazine.
Lap Quilt: 63" x 76"
Runner: 18" x 45"
River Rocks introduces the student to the Split Rects™ Tool by Studio 180 Design. These elongated triangles combined with Half Square Triangles give the quilt the illusion of curves with no curve piecing. Carla will guide you through the constitution method for these elongated triangles using the Split Rects™ Tool and the "make it bigger and square it up" technique along with tips on piecing and proper pressing techniques to make this quilt perfect. Points are not scary if you have the right tool!
Skill Level: Confident Beginner and Beyond
Required:
Split Rects™ tool by Studio 180 Design
This pattern is included with the workshop.
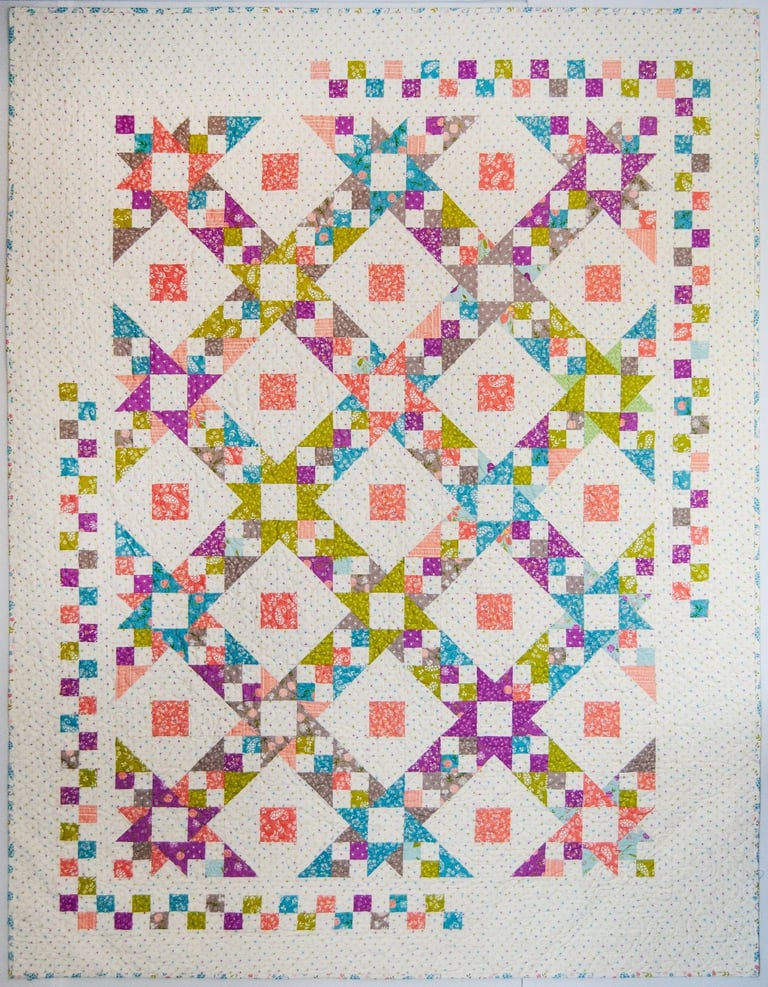
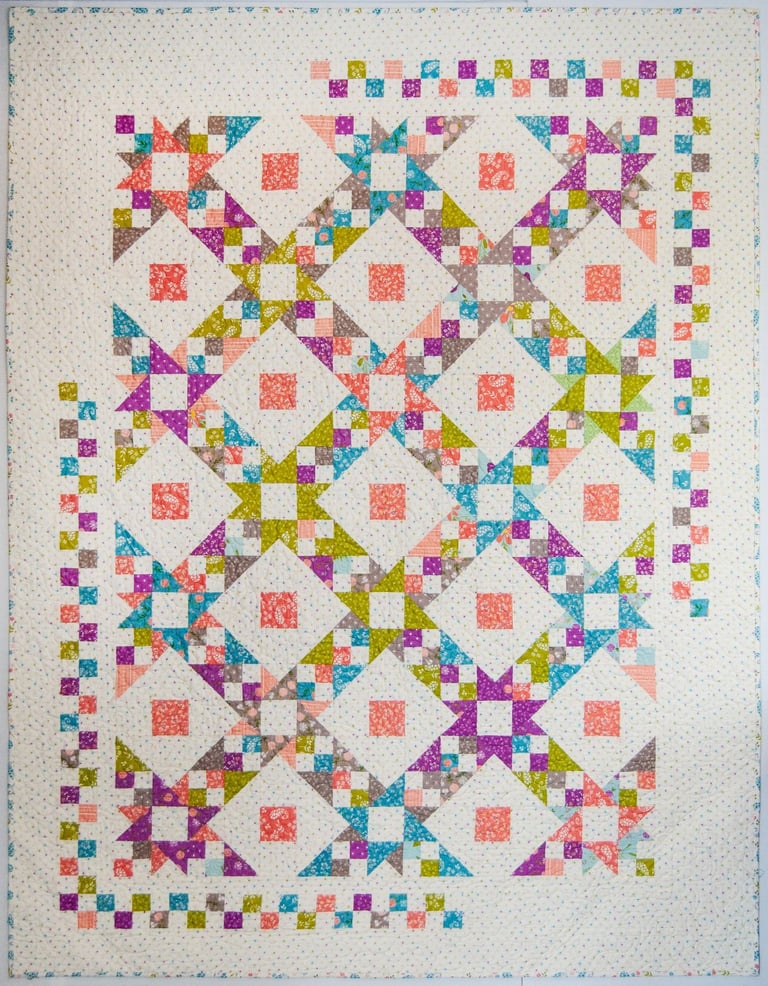
Pathway to Spring
Original Pattern by Carla Alexiuk
Project Size: 62" x 80"
In this quilt, the student will learn how to construct non-mirror image combination units that create the striking points of the star block. The alternate block is a fresh take on a traditional snowball block, featuring half-square triangles in the corners.
Half square triangles are made using the eight at once technique, and then squared up for accurate, stress-free piecing. Leftover fabric can be put to good use in the pieced border, which is intentionally designed to be forgiving and approachable, even for the most novice quilter.
All units are constructed using the Studio 180 Design Method, which focuses on making units slightly oversized and trimming them down for precision and consistency. The Studio 180 Tucker Trimmer will be demonstrated and is recommended to achive the best results in this quilt.
Skill Level: Confident Beginner and Beyond
Recommended, but not required:
Tucker Trimmer I™ tool by Studio 180 Design
This pattern is included with the workshop.
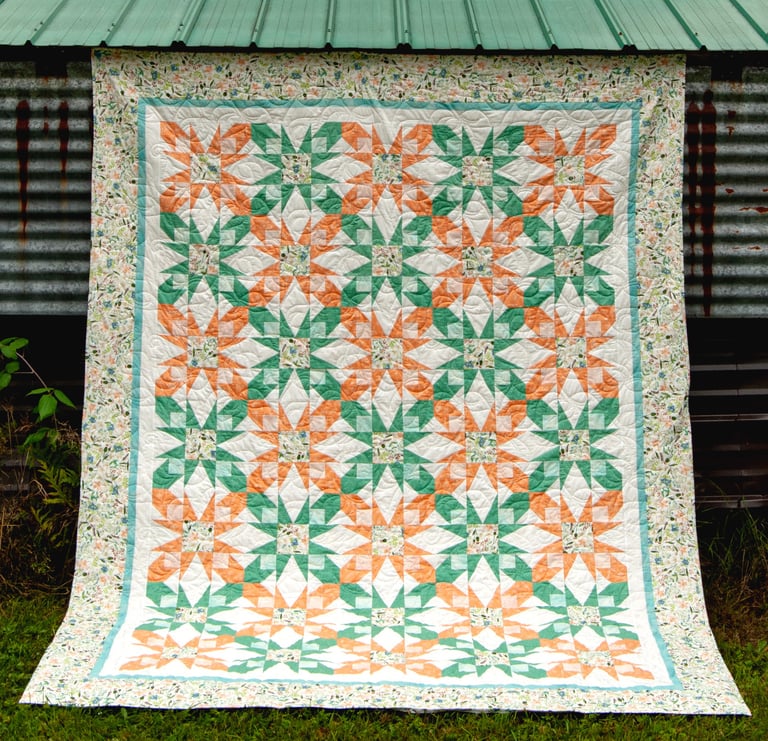
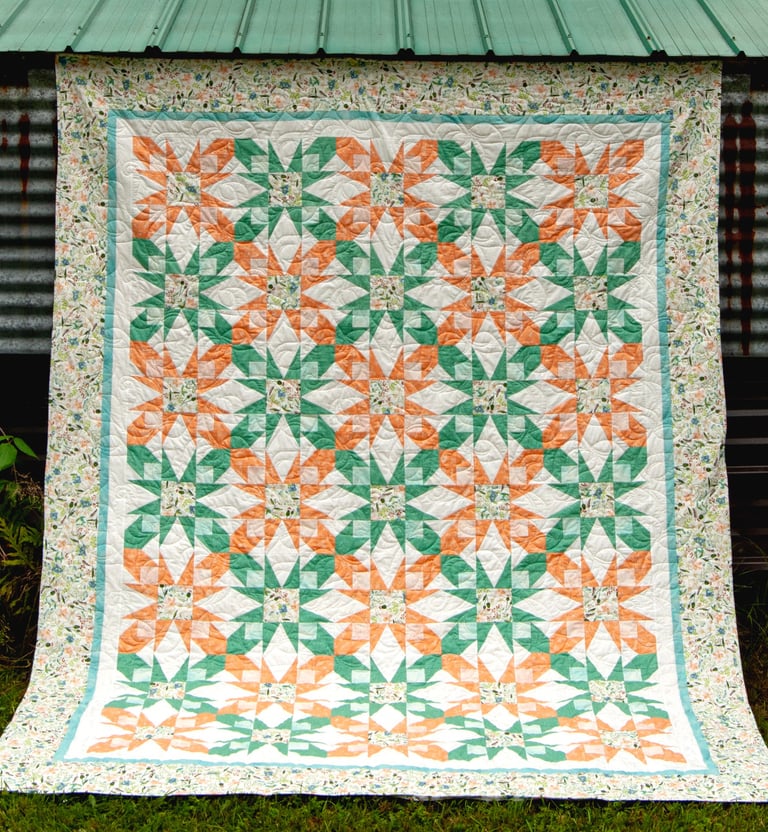
Criss Cross
Original Pattern by Carla Alexiuk
Youth: 54" x 78"
Double: 78" x 102"
King: 102" x 102"
Join Carla as she walks you through mastering the Split Rects™ tool by Studio 180 Design. This class is full of tips and tricks for precision piecing using the techniques developed by Studio 180 Design. Learn Half Square Triangles by Eight and discover the importance of value in single block designs that appear as two. Depending on your speed of sewing, you should be able to complete a few blocks in class.
Skill Level: Confident Beginner and Beyond
Required:
V-Block™ tool by Studio 180 Design
Recommended, but not required:
Tucker Trimmer I™ tool by Studio 180 Design
This pattern is included with the workshop.
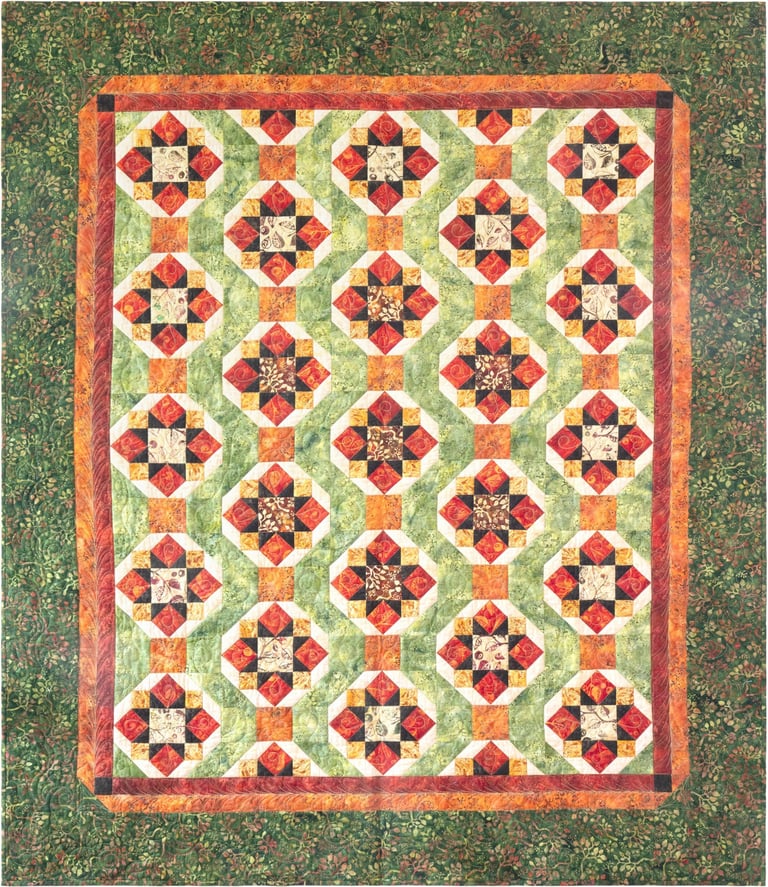
Harvest Hues
Original Pattern by Carla Alexiuk
Lap Quilt: 63" x 75"
Double: 81" x 99"
King: 99" x 99"
Harvest Hues was created for Studio 180 Design to showcase their Fall 2024 fabric collection, Forest Flora, by Island Batik.
In this class, students will learn how to make the Shaded Four-Patch unit using the Tucker Trimmer 1™ by Studio 180 Design. Precision piecing techniques will also be demonstrated using the Square²™ Tool for constructing accurate square-in-a-square units.
Carla will discuss different layout options used in Harvest Hues and explore how quilters can adapt these layout concepts to create their own unique designs in future projects.
Skill Level: Confident Beginner and Beyond
Required:
Square²™ by Studio 180 Design
Tucker Trimmer I™ tool by Studio 180 Design
This pattern is included with the workshop.

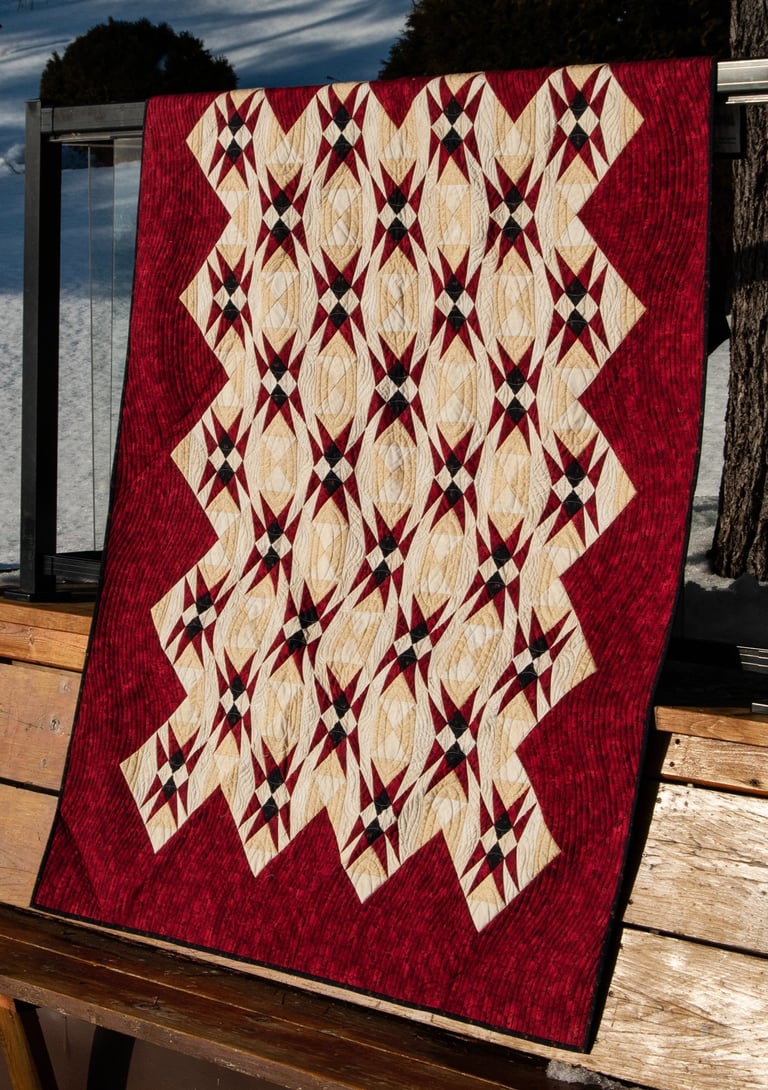
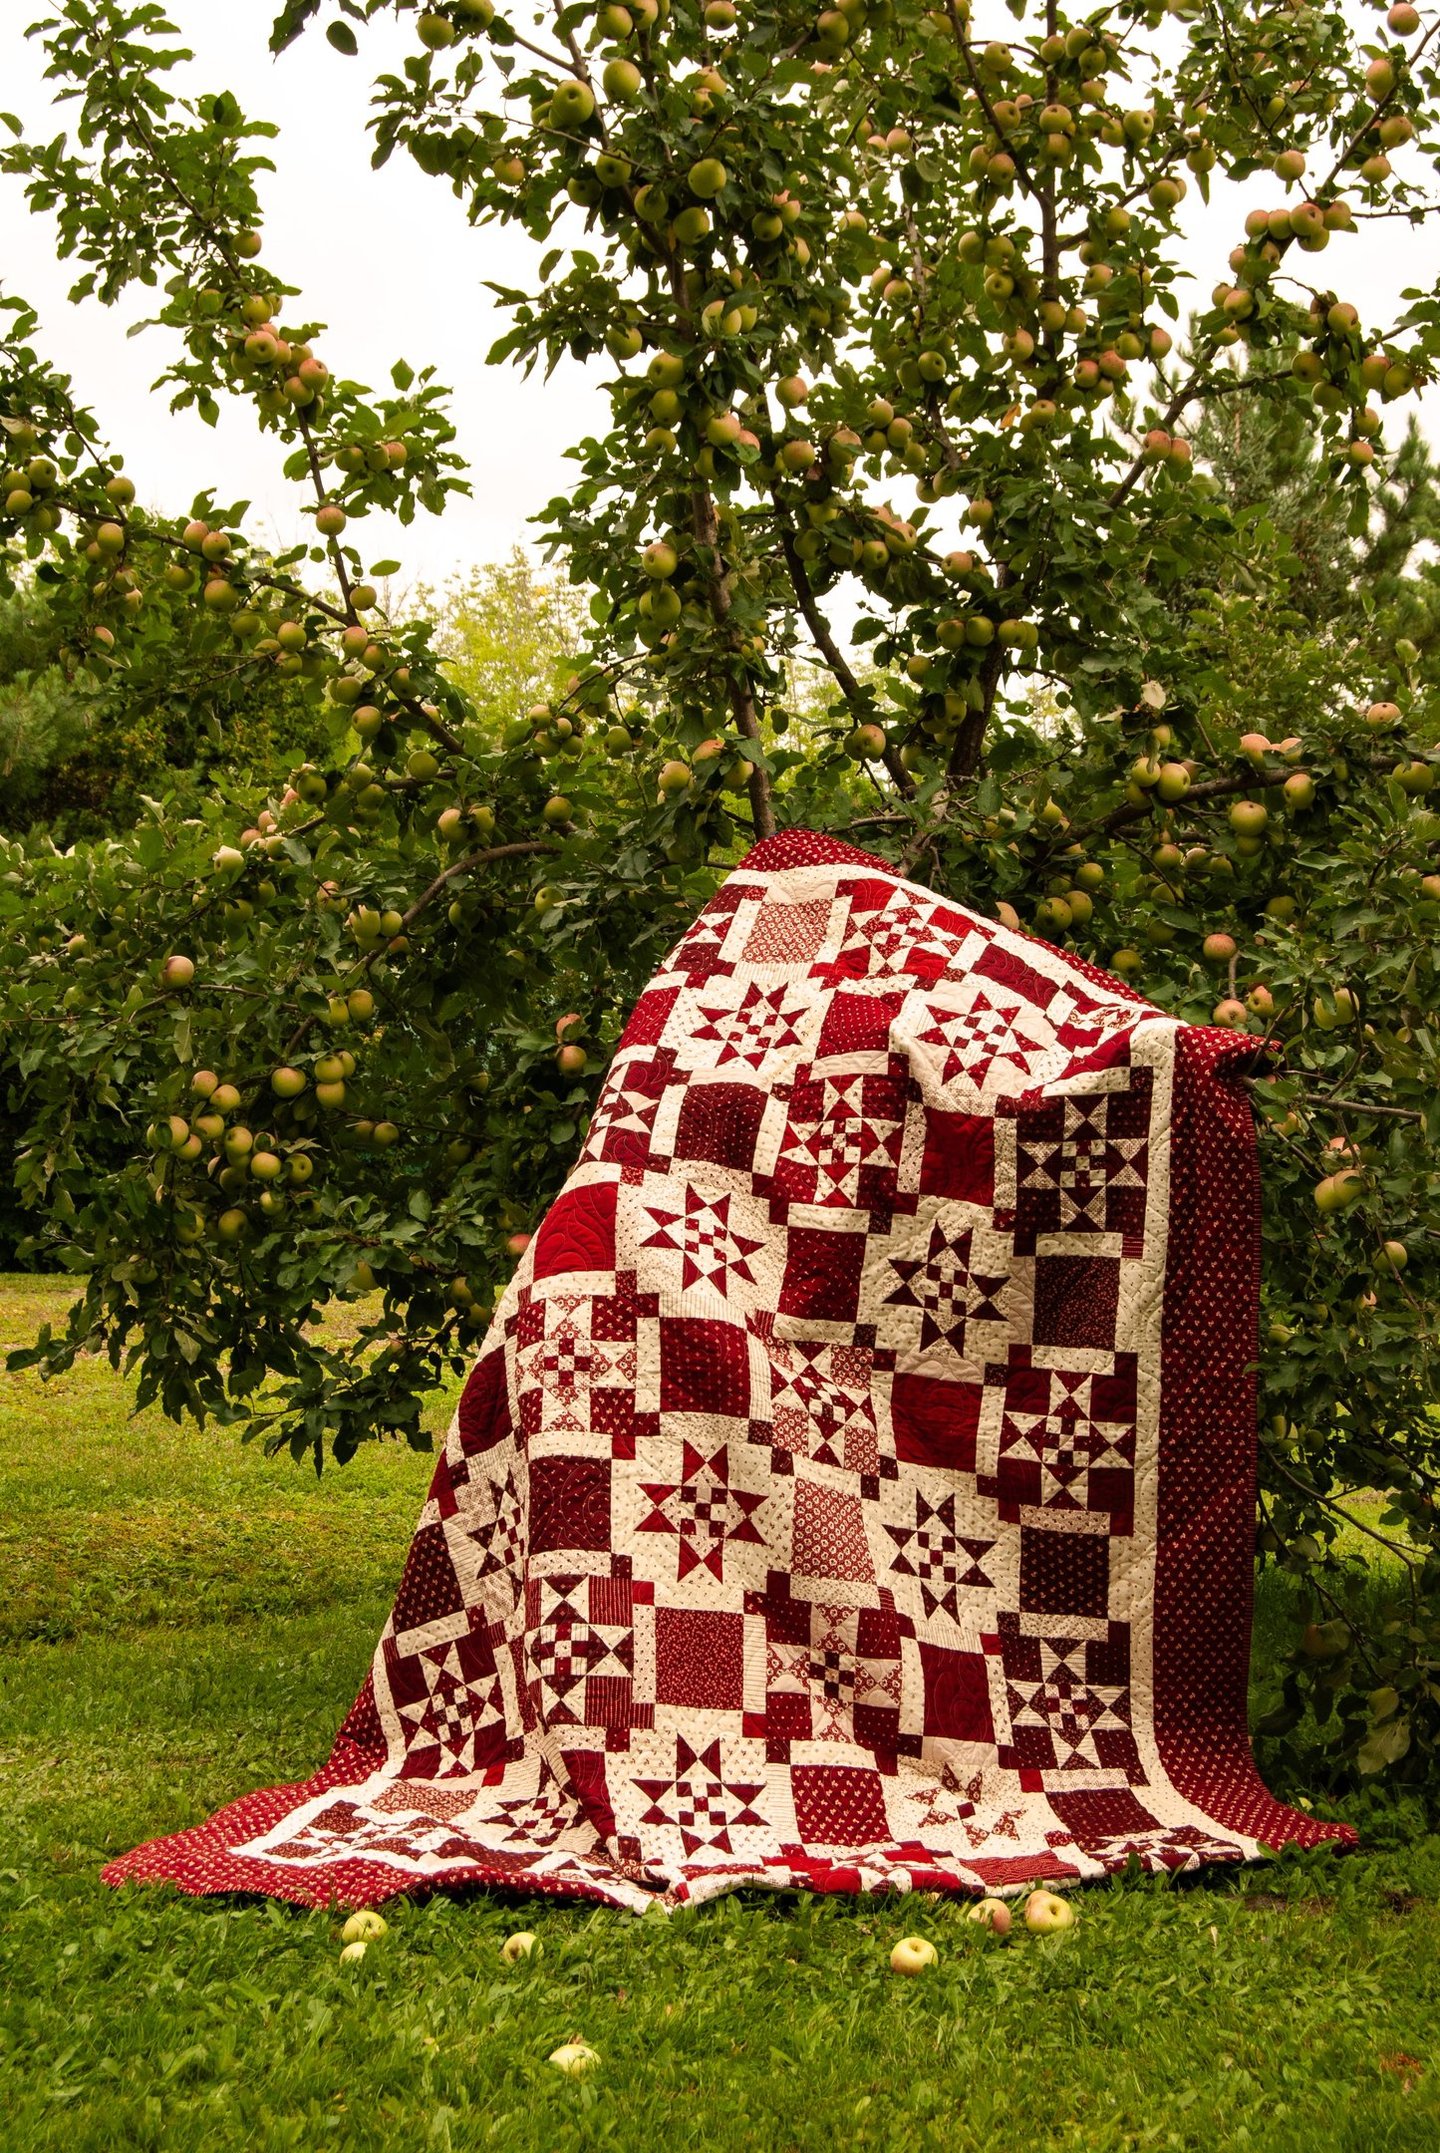
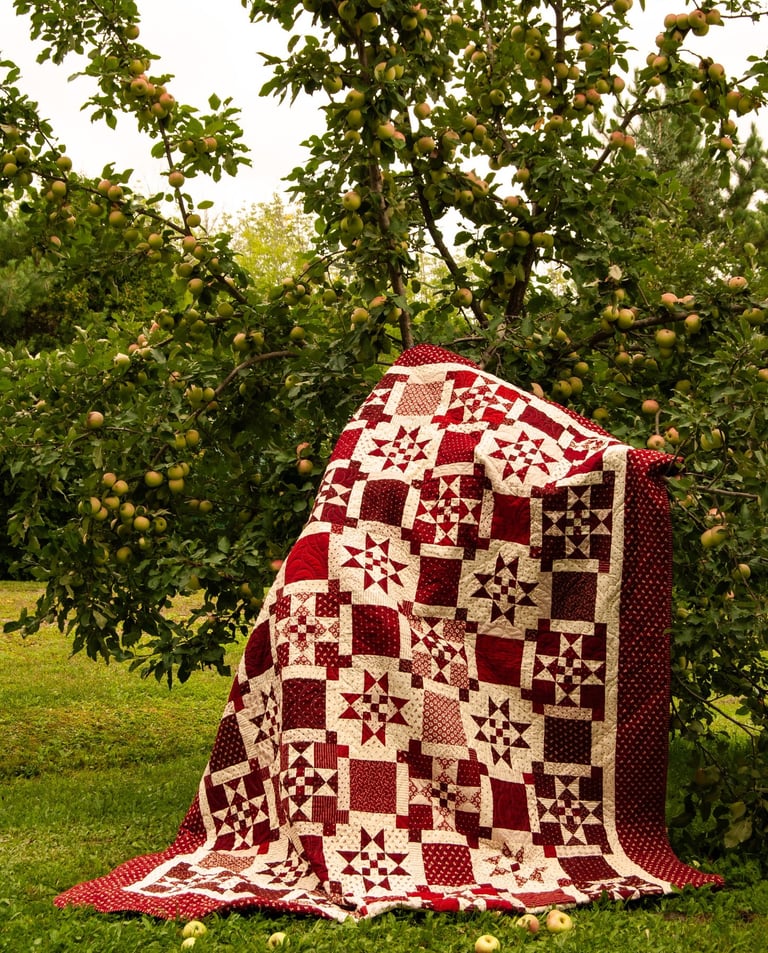
Colour my Quilt
Original Pattern by Carla Alexiuk
Lap Quilt: 60" x 78"
Double: 78" x 96"
King: 96" x 96"
A favourite among quilters, this two-colour quilt comes together quickly and easily while reinforcing essential quilting principles. It is an excellent project for both beginners and seasoned quilters.
In this class, Carla will demonstrate the core concepts behind the Studio 180 Design philosophy of make it bigger and square it up, helping quilt makers gain confidence and overcome their fear of sharp, accurate points. This quilt highlights the use of the Tucker Trimmer 1™, which is recommended, but not required.
Striking in a classic two-colour palette, this design also shines when made with scrabby fabrics, so feel free to explore your creativity.
Skill Level: Confident Beginner and Beyond
Recommeded, but not required:
Tucker Trimmer I™ tool by Studio 180 Design
This pattern is included with the workshop.
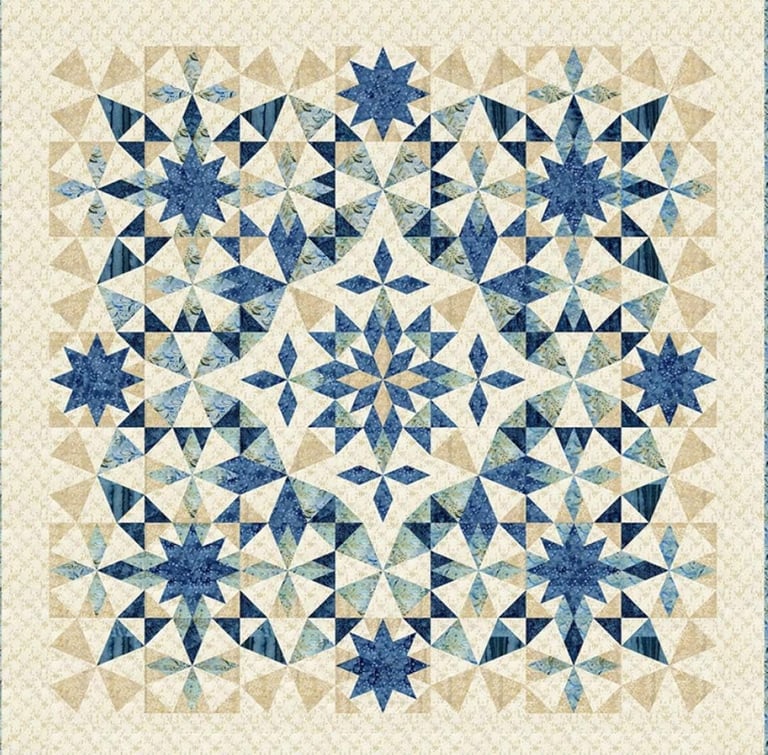
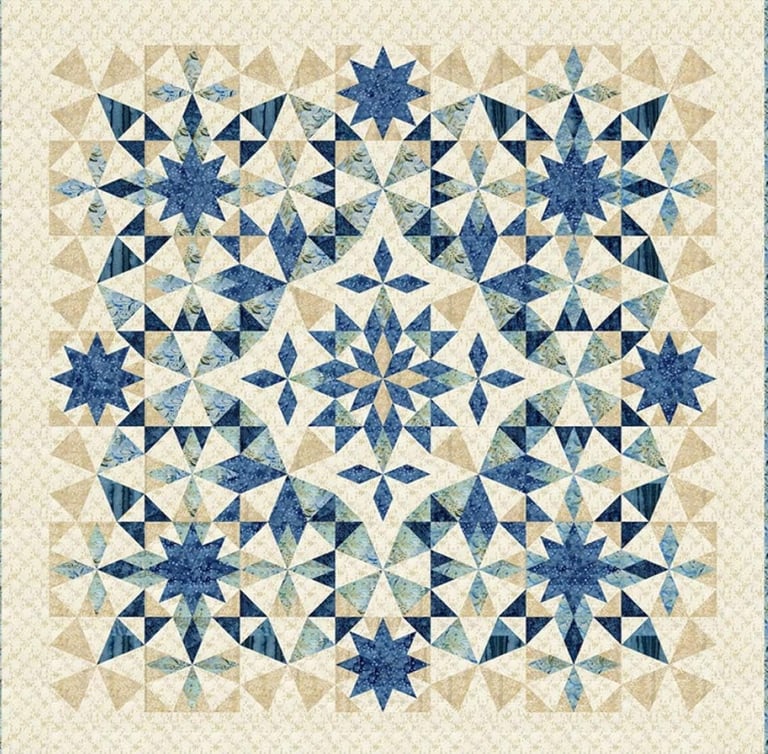
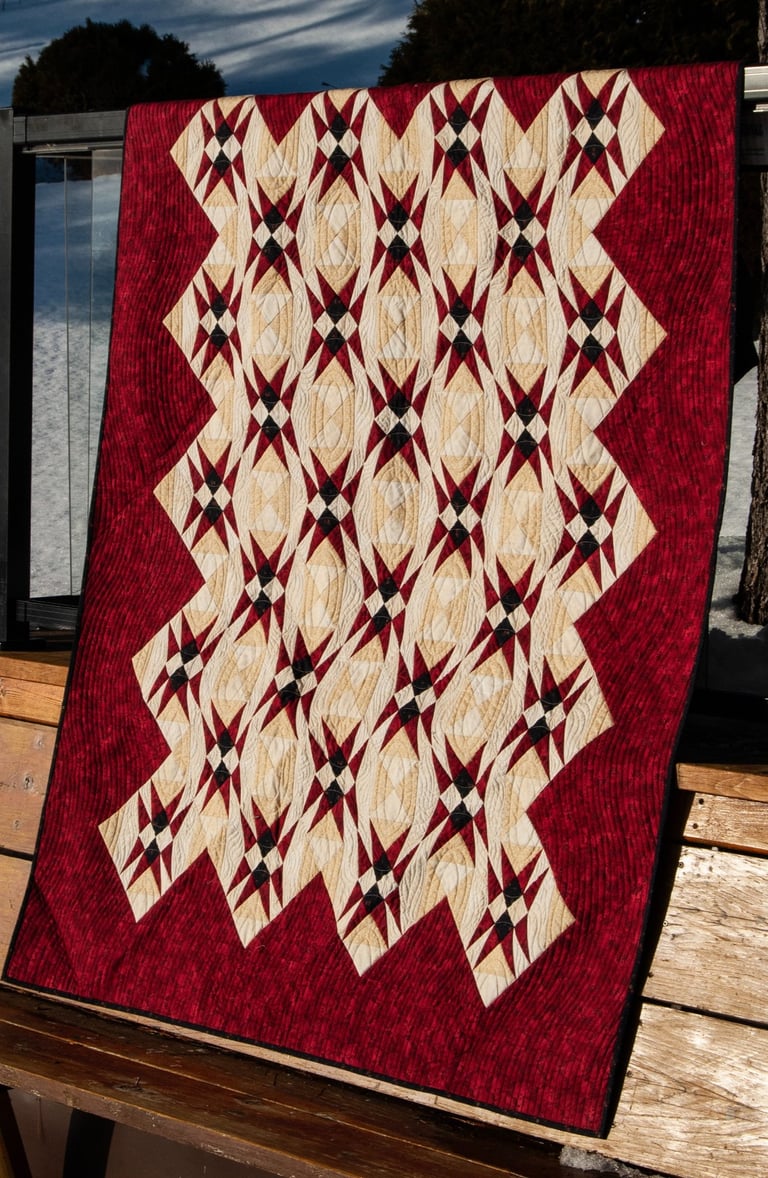
Alaska
The beautiful Alaska quilt, originally designed by Edyt a Sitar of Laundry Basket Quilts, quickly took the quilting world by storm with its striking star blocks and dramatic design. The original pattern uses templates or precut pieces, which can make construction challenging for many quilters.
In this special two-day workshop, Carla will show you an easier and more accurate approach using the Wedge Star Tool™ from Studio 180 Design—eliminating the need for templates or paper piecing.
Get ready for a fun, hands-on learning experience as you create the stunning Alaska quilt using precision piecing techniques and specialty rulers designed for success.
One of the most exciting aspects of this quilt is that its intricate appearance comes from fabric placement and three different block configurations, while the Wedge Star tool simplifies the cutting and assembly process.
Skill Level: Confident Beginner and Beyond
Recommeded:
Wedge Star Tool™ tool by Studio 180 Design
This pattern is included with the workshop.